Developer Support
Set Up OAuth, Permissions and Webhooks
3 min read
·
Last updated on Dec 9, 2022
Protecting user privacy is really important. If your app requires access to a site's private data (e.g., contacts, orders, etc.), site owners must give you permission to collect this data when they first install your app.
You also need to update your app's settings in the Wix Developers Center to enable a complete OAuth flow, to request the permissions you need to access user data, and to register for webhooks.
You also need to update your app's settings in the Wix Developers Center to enable a complete OAuth flow, to request the permissions you need to access user data, and to register for webhooks.
OAuth
We use OAuth 2.0 to authorize your app to access our APIs and apply webhooks. All new apps that use an OAuth access token will need to have at least one dashboard component.
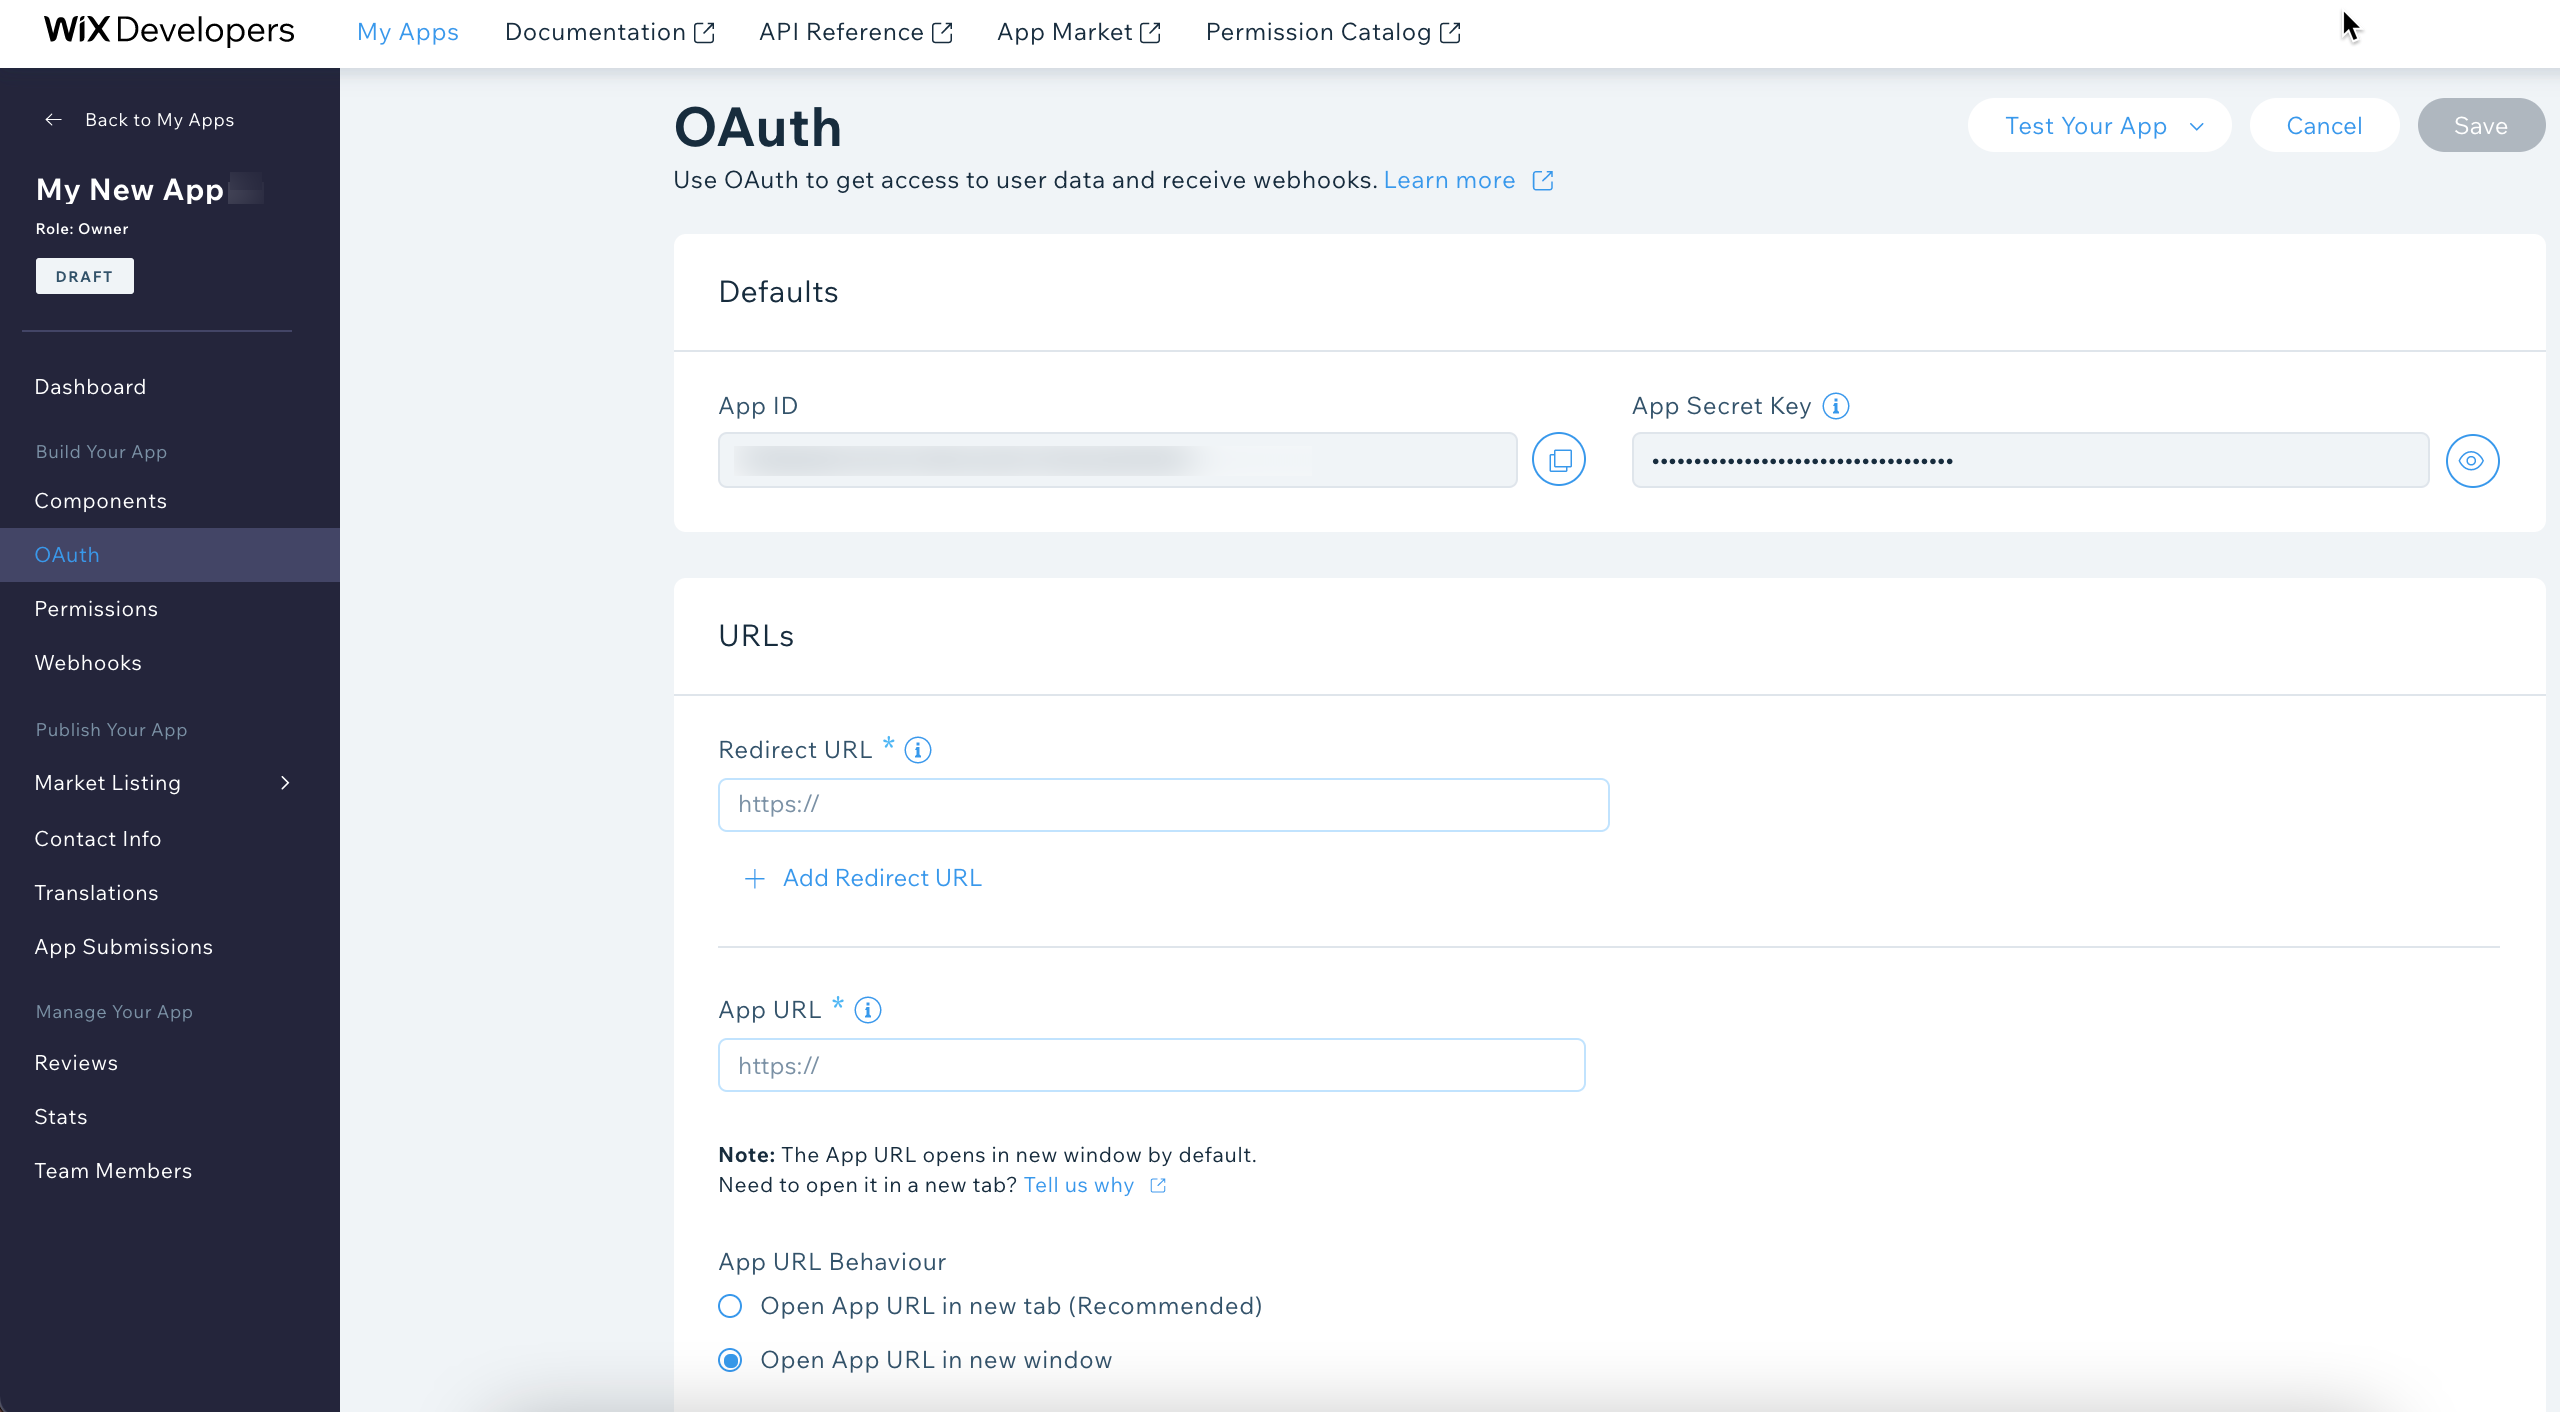
- Go to OAuth in the side menu (under Build Your App).
- In the Redirect URL field, enter the URL we should redirect to once users authorize your app. This is where you collect the user's token query parameter during the OAuth flow.
- In the App URL field, enter a URL we should direct users to when they first get to your app.
URL Requirements
- HTTPS: Wix uses HTTPS to maintain high security standards. All URLs, whether they are OAuth or iframe need to use HTTPS throughout the development process, otherwise they won't load on the Wix system.
- Localhost or ngrok: you can use both of these during development, but you need to change the URL before you submit your app for review. As localhost and ngrok run on your local machine, our team won't be able to check them when reviewing your app.
- Click Save.
Make a note of the App Secret Key
You need it to get the access token later on. Keep your secret key safe and secure – don’t share it with anyone or make it public in any way.

Permissions
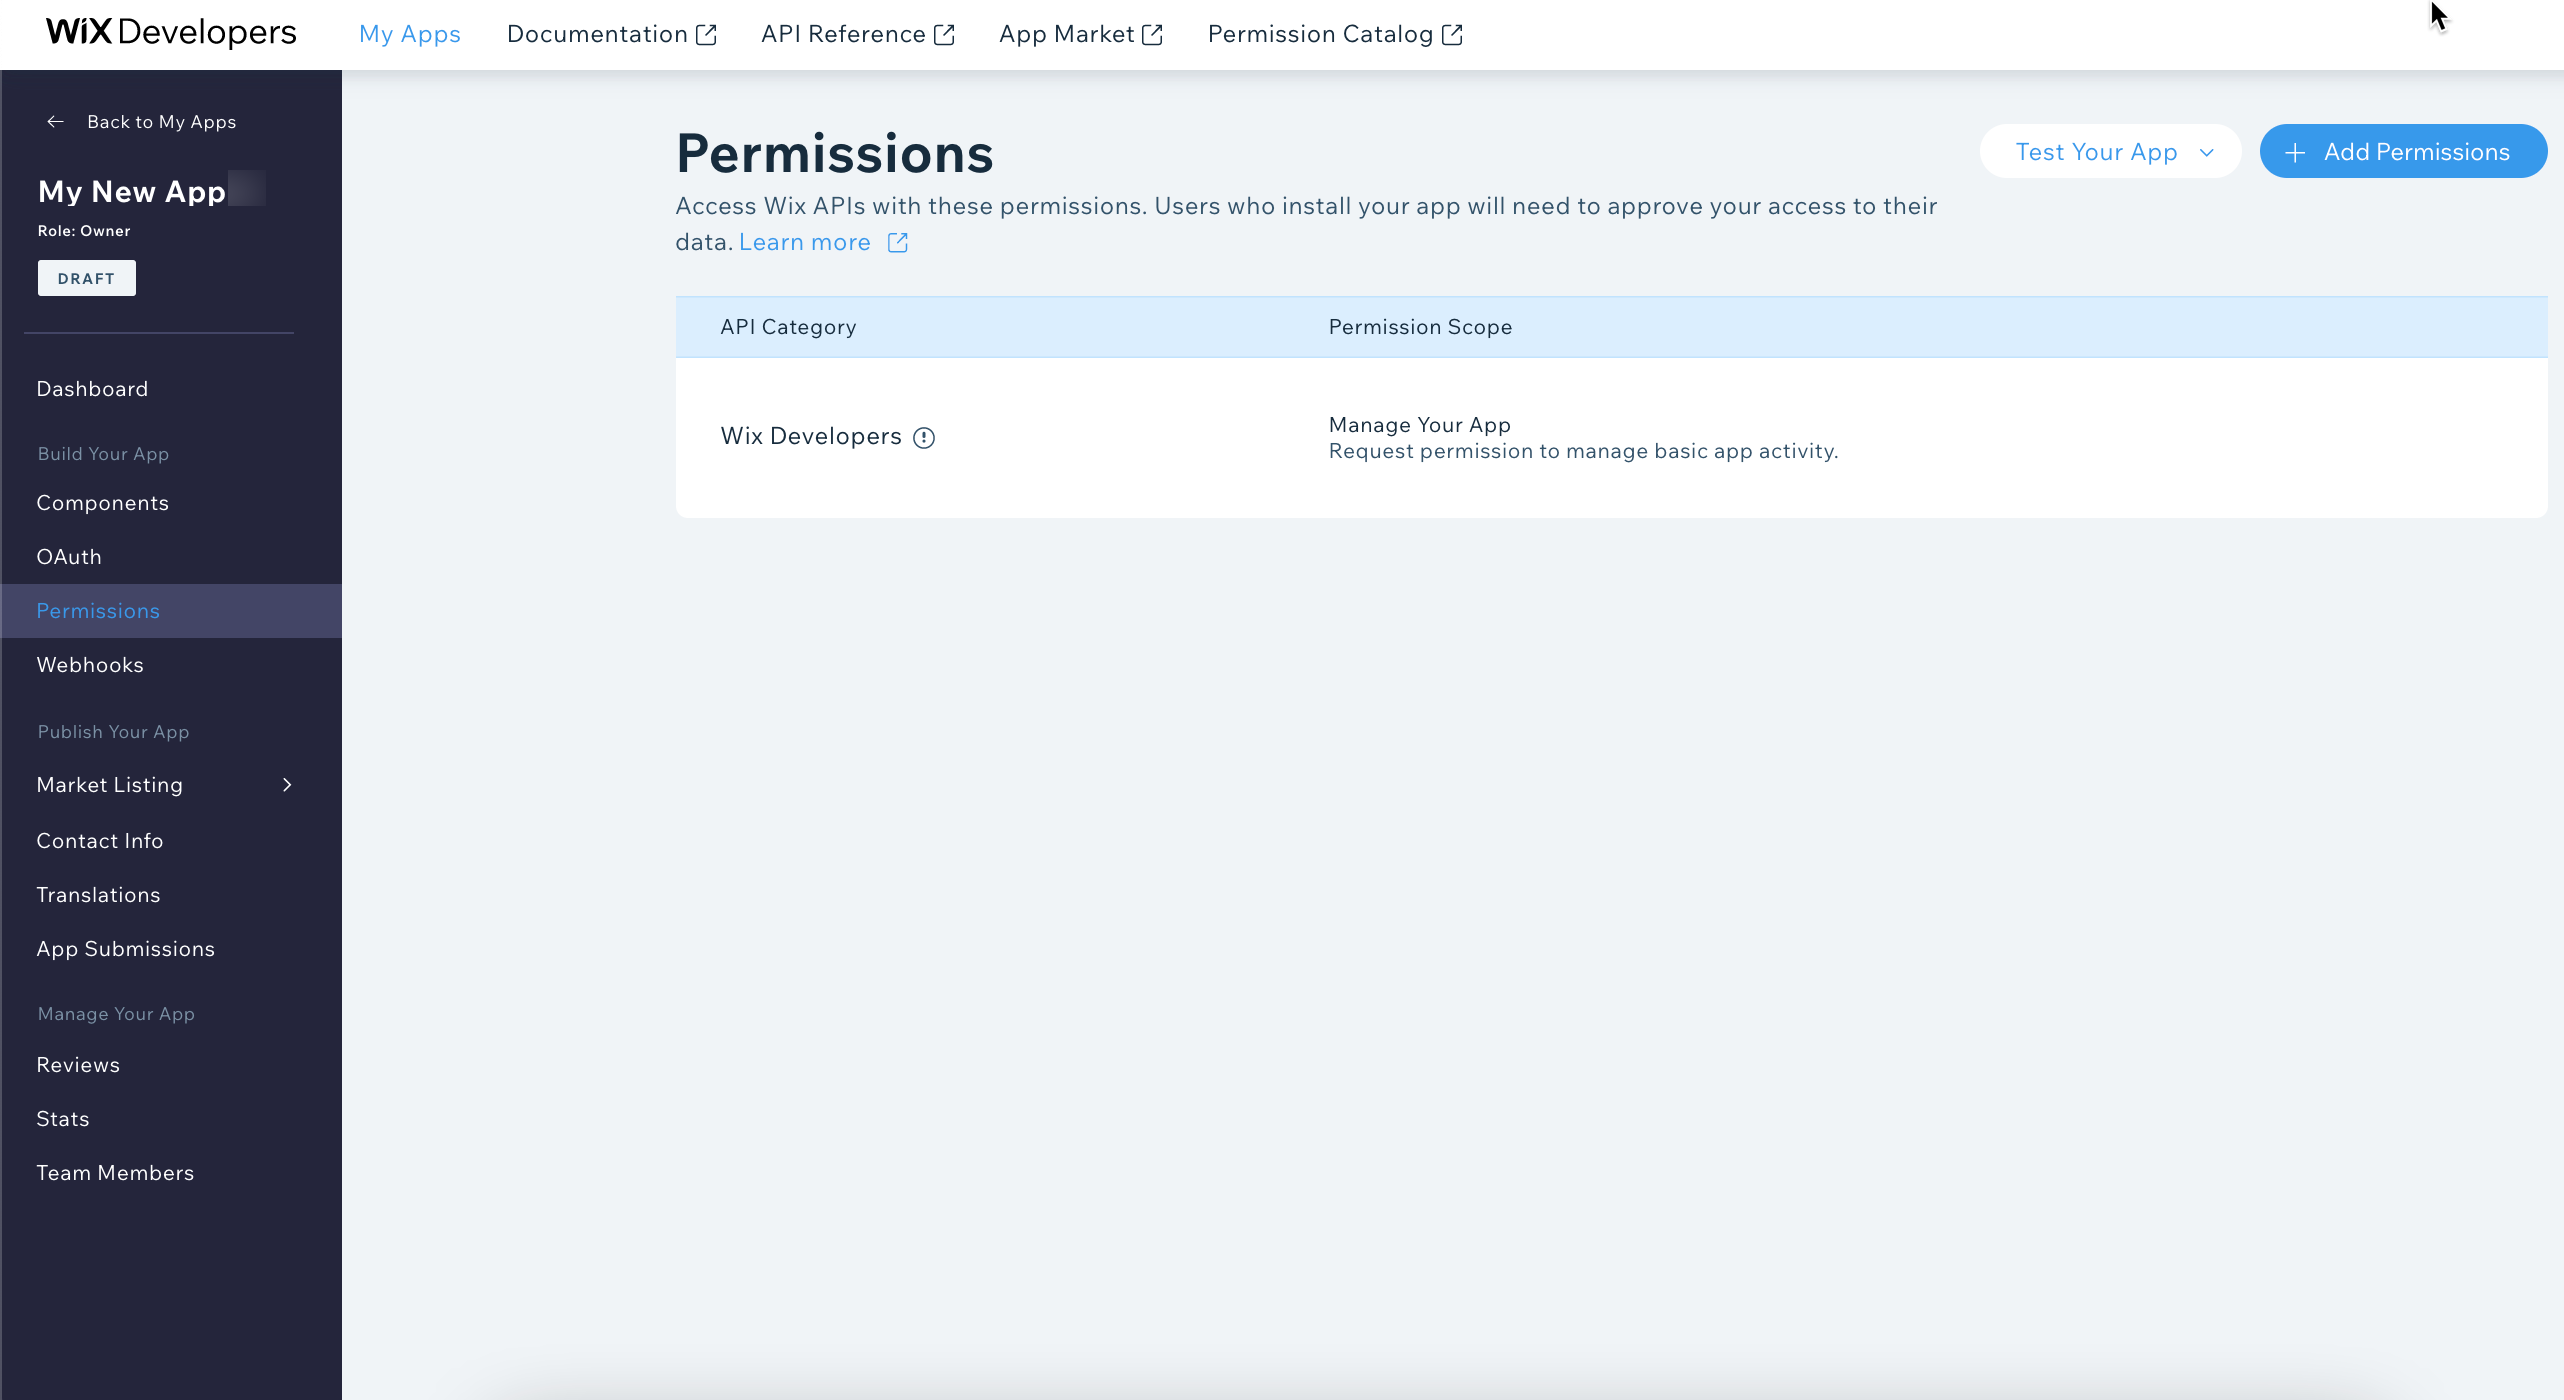
Select the permissions you need to access from your users' data, and we'll ask your users to authorize you to access these permissions during the installation flow.
- Go to your app's page in the Wix Developers Center.
- Click Permissions in the side menu (under Build Your App).
- Click + Add Permissions.
- Choose the relevant category for the permission, and then select the permission scope.
- Click Save.

Important:
Don't request more permissions than are required for your app to function. If you want to add new functionality in the future that require additional permissions, tell us when you submit your app. For more on permissions, read this article.
Webhooks
Use webhooks to get notifications about events in your app, other apps, or the Wix site.
When you register for webhooks in the Wix Developers Center, Wix sends an HTTPS POST request to your server URL with the relevant data when an event occurs.
When you register for webhooks in the Wix Developers Center, Wix sends an HTTPS POST request to your server URL with the relevant data when an event occurs.
- Open your app in the Wix Developers Center.
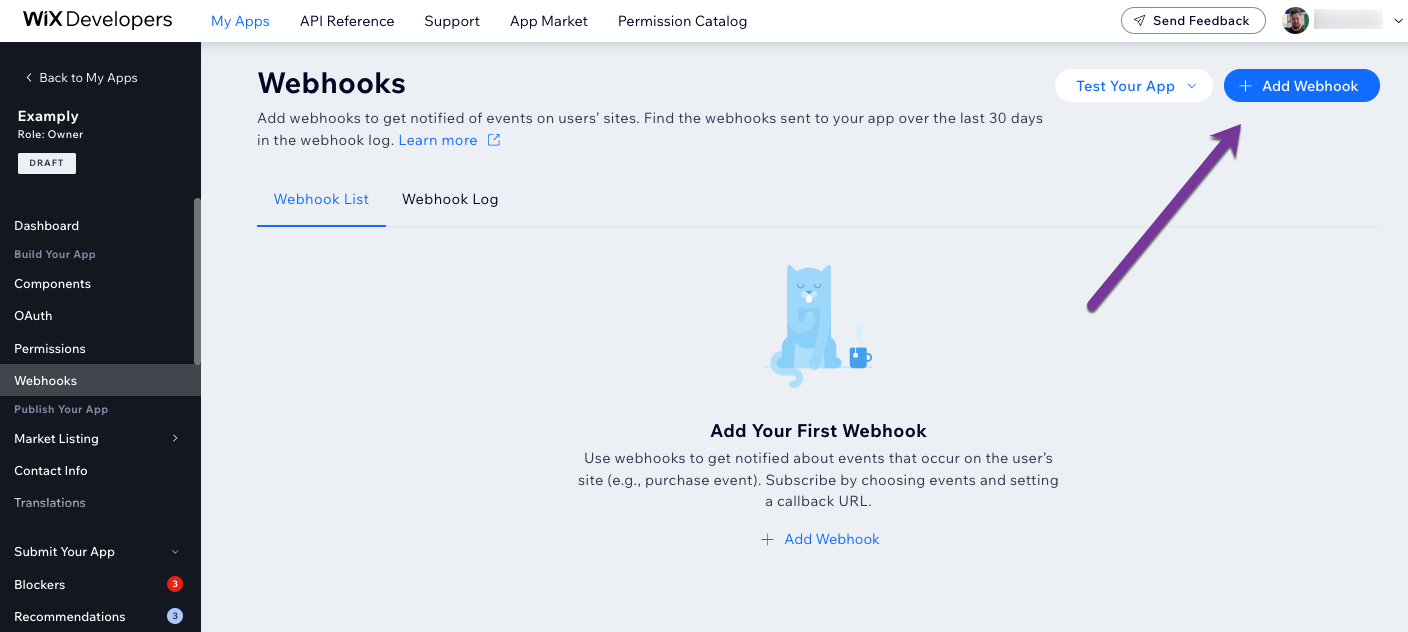
- Go to Webhooks in the side menu (under Build Your App).
- Click + Add Webhook.
- Select API Category > Webhook Event from the available options.
- Enter a Callback URL (this is where we send the event when it occurs).
- Click Save.
- Click Test to send an example webhook and check that you receive it. Need a temporary callback URL? Check out this site.
- In addition to the example webhook you should also test some real scenarios.
- Make note of your Public Key – this is how you verify the signature in any webhook you receive (this appears once you've added a webhook).

Was this article helpful?
