Developer Support
Set Up Pre-Installed Automations
4 min read
·
Last updated on Mar 28, 2023
Wix Automations help users to streamline work processes and save time on manual tasks. You can add automations that come pre-installed for all of your app's users. Users can see them in the Automations page under 'Installed for you'.
1. Before you start
- Make sure you've set up automation triggers for your app.
- Pre-installed automations only respond to triggers from the same app.
- The app you want to set up an automation for needs to be installed on a Wix website.
2. Select a site to create an automation template
- Go to Automations in the side menu of the Wix Developers Center.
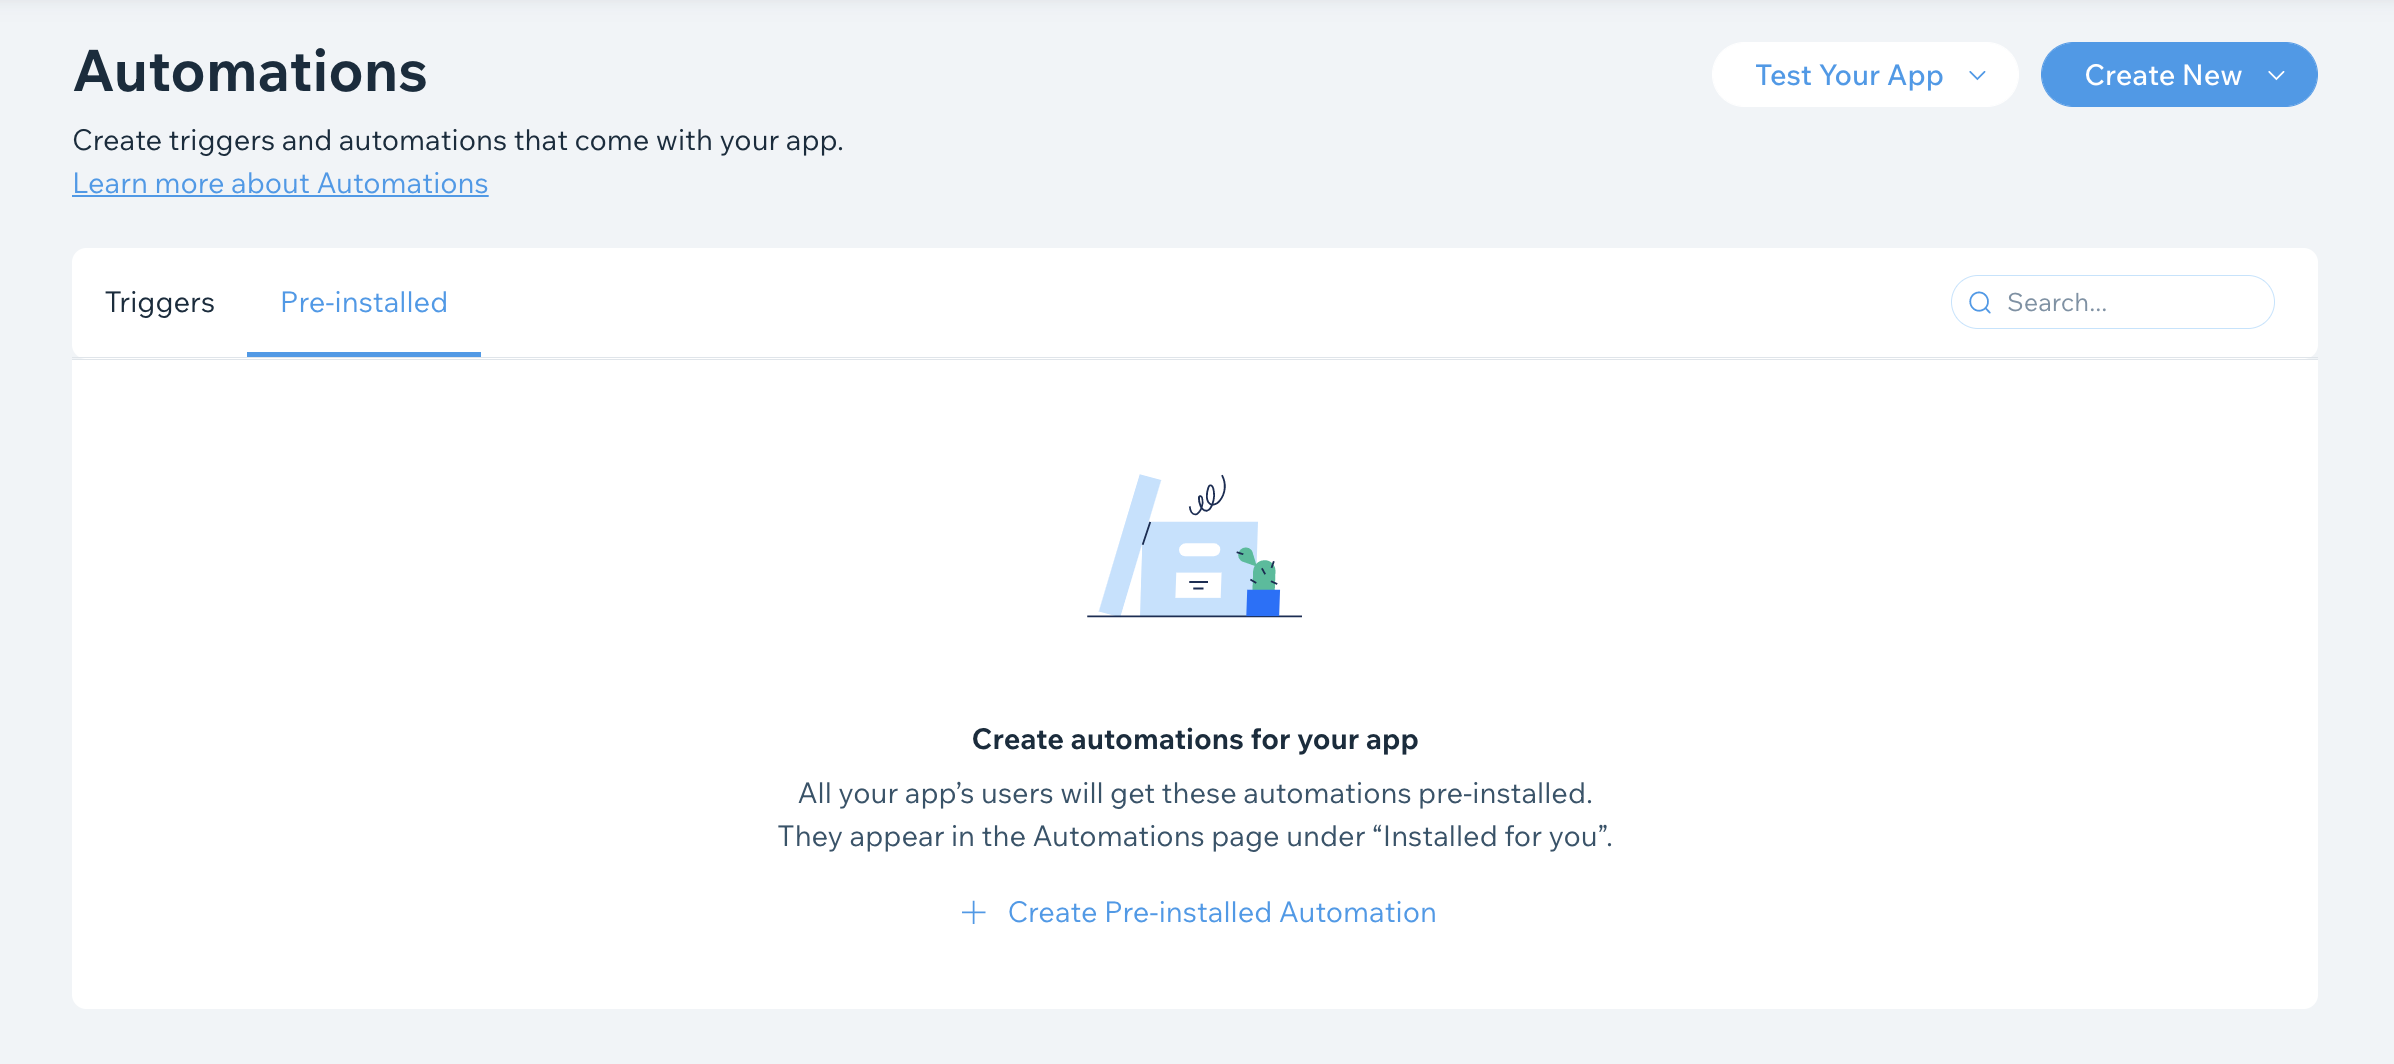
- Click the Pre-installed tab.
- Click Create New > Pre-installed automation.
4. Click Select a site to create the automation.
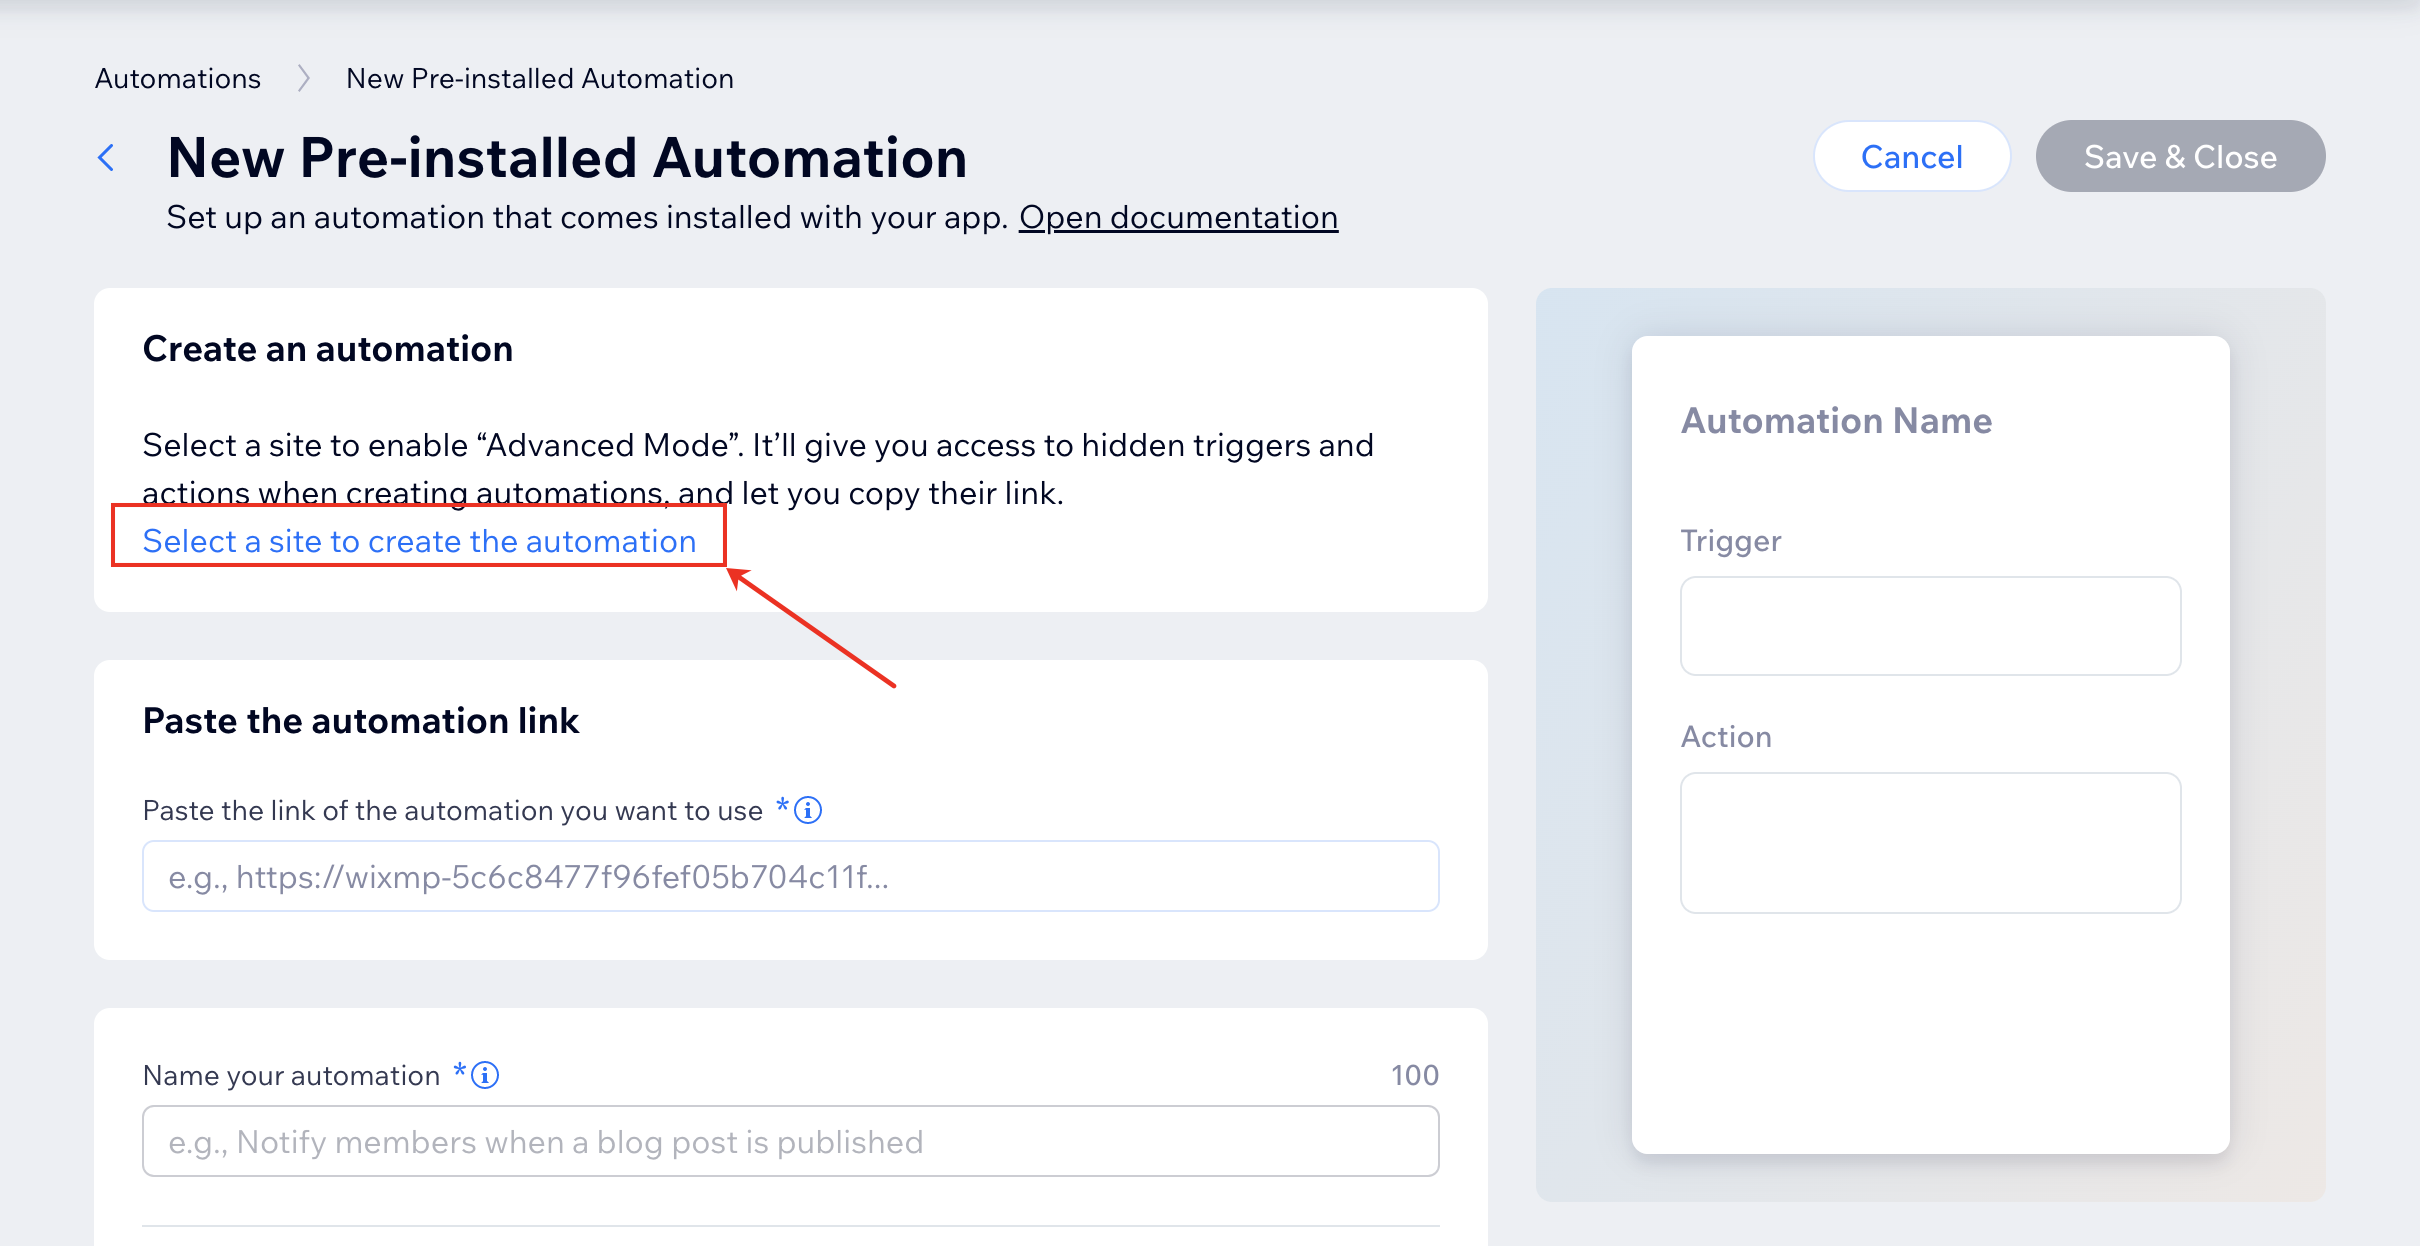
5. Select the site that your app is installed on. Learn how to install your app on a free Premium development site.
6. A new tab will open on your site's Automations page, with Advanced Mode turned on.
3. Create your automation
- In the Automations page on your site's Dashboard, click + New Automation.
- Select the app you want to create an automation for.
- Select one of your app's triggers and configure it.
- Connect your trigger with one or more actions like 'Send an email'. Fill out the relevant configuration fields in the wizard and remember to customize any templates you use.
- Click Activate.
- You'll now be redirected back to your site's Automations page.
4. Export your automation from the Wix site to the Developers Center
- Click the actions menu
 for the automation you created and select Generate link.
 - Copy the generated automation link.
- Return to the tab of Wix Developers Center, where you create a New Pre-installed Automation.
If the tab was closed, go to Developers Center > Automations > Create New > Pre-installed automation. - Paste the copied automation link. The trigger and action(s) will show in the automation's preview, and the automation name will be automatically populated.
- Rename the automation if you like. Keep in mind:
- Users can’t change this name themselves.
- You can translate the name to other languages in the Translations page.
- Tips for naming an automation:
- Start with an imperative verb describing what the automation does (e.g., Notify members)
- Describe what triggers it (e.g., when a new blog post is published)
- Use sentence case, no period
- Choose the automation's default status:
- Active
- Inactive
- Allow users to edit timing: Check this to let users edit the automation's timing, which includes the delay of each action, and how frequently the same contact can trigger it.
- Click Save & Close and you'll be taken back to the Automations page.

- Your automation should now be listed in the Wix Developers Center under the Pre-installed tab.
5. Test your automation
Next, you need to test that everything's working. Learn how to install your app on a free Premium development site.
- Click Test Your App > Dashboard
- Select the test site you installed your app on earlier.
- Make sure the automation is working as it should.
Tip:
If you're using the same site you used for the template creation, make sure you deactivate the template version so that it isn't triggered twice.
6. Submit your app for review
Ready to publish your new pre-installed automation? You need to submit your app for review and a member of our team will check the changes and approve the latest version.
FAQ
Can I use any trigger?
Can I use any action?
Can I use triggers with filter fields in pre-installed automations?
Can app users change the trigger or edit its configuration?
If I make changes to the original automation I used as a template, will it affect the pre-installed automation?
Was this article helpful?
